Explore the Course Explore the Course
Explore the Course
Wayne Stiles, a prominent 1920s architect and disciple of the legendary Donald Ross, is the visionary behind the original layout of the Needham Golf Club. The nine-hole course offers a beautifully manicured landscape that challenges players with its tight fairways and undulating greens. This layout demands strategic shot-making, as the natural elevation changes and well-placed hazards keep even seasoned golfers on their toes.
Hole-by-Hole
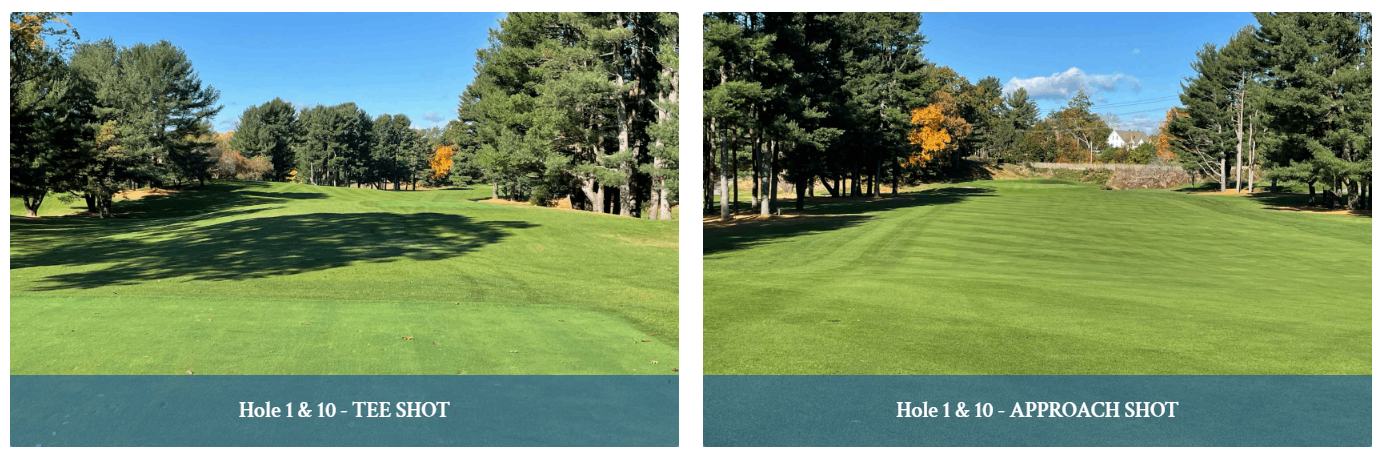
Hole 1 & 10 - Scorecard
| Tee | Par | Yardage | Handicap |
|---|---|---|---|
| Blue / Gold | 5 / 4 | 501 / 401 | 12 / 1 |
| Blue / White | 5 | 501 / 481 | 9 / 10 |
| White / Green | 5 | 481 / 468 | 9 / 10 |
| Red / Yellow | 5 | 468 / 400 | 7 / 10 |
| Blue / White | 5 | 501 / 481 | 5 / 10 |
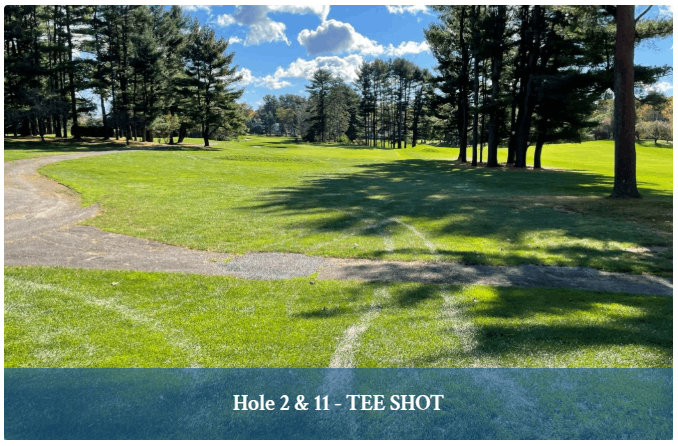
Hole 2 & 11 - Scorecard
| Tee | Par | Yardage | Handicap |
|---|---|---|---|
| Blue / Gold | 3 | 201 / 217 | 14 / 11 |
| Blue / White | 3 | 201 / 184 | 11 / 12 |
| White / Green | 3 | 184 / 177 | 9 / 12 |
| Red / Yellow | 3 | 177 / 166 | 15 / 14 |
| Blue / White | 3 | 201 / 184 | 13 / 16 |
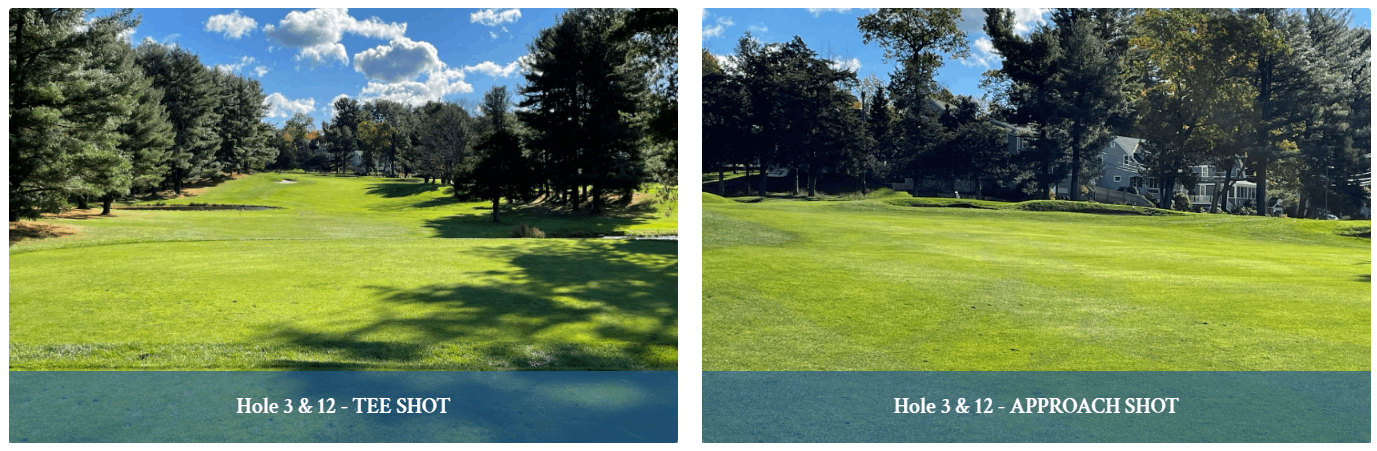
Hole 3 & 12 - Scorecard
| Tee | Par | Yardage | Handicap |
|---|---|---|---|
| Blue / Gold | 4 | 297 / 297 | 16 / 15 |
| Blue / White | 4 | 297 / 287 | 13 / 14 |
| White / Green | 4 | 287 / 279 | 13 / 14 |
| Red / Yellow | 4 | 279 / 274 | 11 / 12 |
| Blue / White | 4 | 297 / 287 | 11 / 12 |
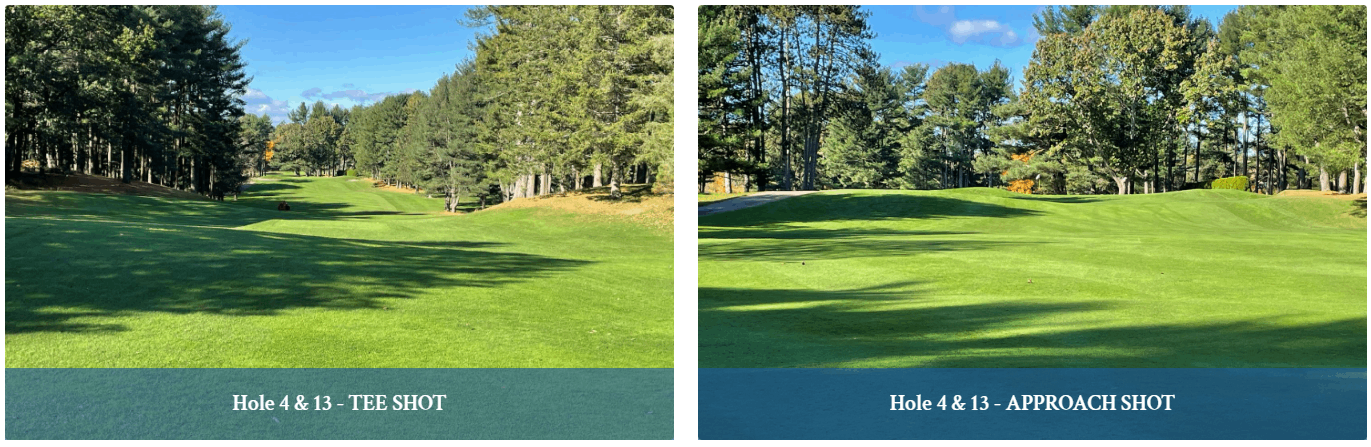
Hole 4 & 13 - Scorecard
| Tee | Par | Yardage | Handicap |
|---|---|---|---|
| Blue / Gold | 4 | 378 / 381 | 6 / 7 |
| Blue / White | 4 | 378 / 374 | 5 / 6 |
| White / Green | 4 | 374 / 369 | 5 / 6 |
| Red / Yellow | 4 | 369 / 315 | 5 / 4 |
| Blue / White | 4 | 378 / 374 | 7 / 8 |
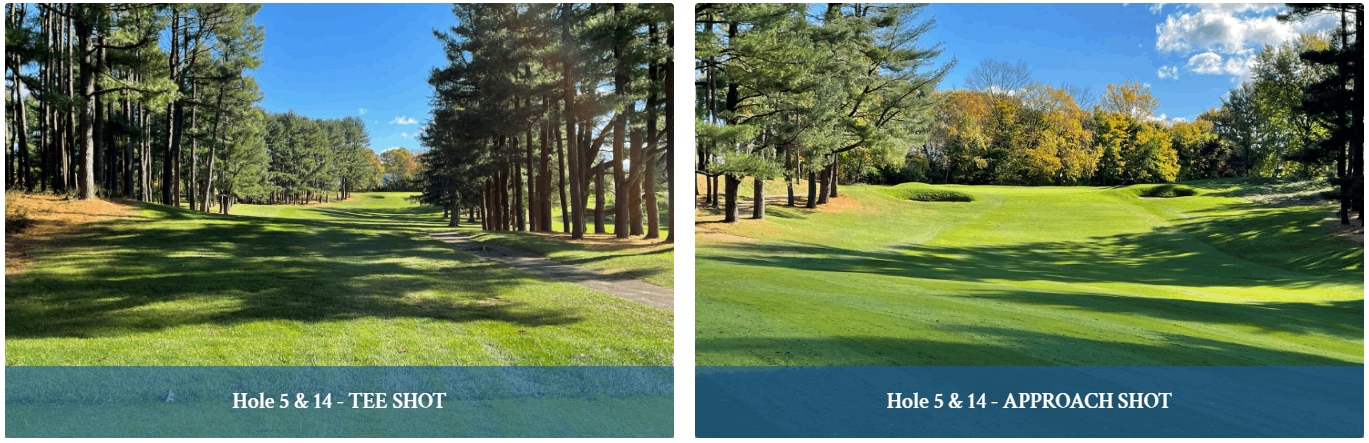
Hole 5 & 14 - Scorecard
| Tee | Par | Yardage | Handicap |
|---|---|---|---|
| Blue / Gold | 4 | 347 / 357 | 8 / 9 |
| Blue / White | 4 | 347 / 324 | 7 / 8 |
| White / Green | 4 | 324 / 308 | 7 / 8 |
| Red / Yellow | 4 | 308 / 301 | 9 / 8 |
| Blue / White | 4 | 347 / 324 | 9 / 6 |
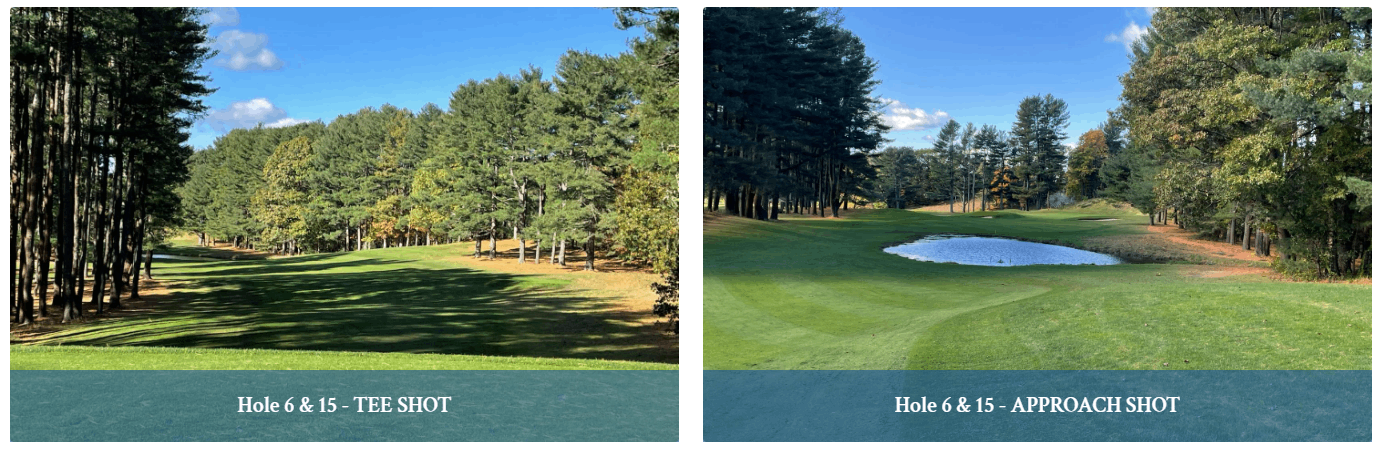
Hole 6 & 15 - Scorecard
| Tee | Par | Yardage | Handicap |
|---|---|---|---|
| Blue / Gold | 4 | 398 / 410 | 2 / 3 |
| Blue / White | 4 | 398 / 379 | 1 / 2 |
| White / Green | 4 | 379 / 371 | 1 / 2 |
| Red / Yellow | 4 | 371 / 367 | 3 / 2 |
| Blue / White | 4 | 398 / 379 | 3 / 2 |
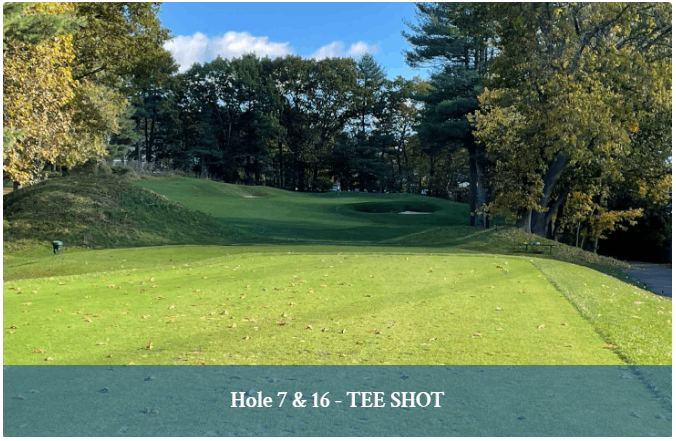
Hole 7 & 16 - Scorecard
| Tee | Par | Yardage | Handicap |
|---|---|---|---|
| Blue / Gold | 3 | 166 / 190 | 18 / 13 |
| Blue / White | 3 | 166 / 137 | 17 / 18 |
| White / Green | 3 | 137 / 132 | 17 / 18 |
| Red / Yellow | 3 | 132 / 117 | 17 / 16 |
| Blue / White | 3 | 166 / 117 | 15 / 14 |
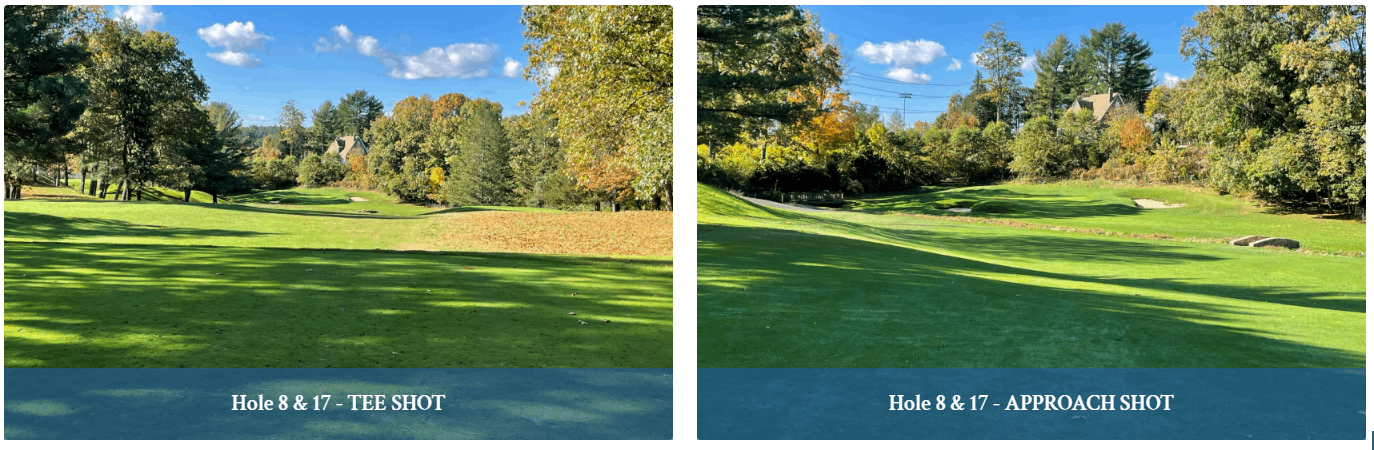
Hole 8 & 17 - Scorecard
| Tee | Par | Yardage | Handicap |
|---|---|---|---|
| Blue / Gold | 3 / 4 | 206 / 296 | 10 / 17 |
| Blue / White | 4 | 296 / 281 | 15 / 16 |
| White / Green | 4 | 281 / 281 | 15 / 16 |
| Red / Yellow | 4 | 281 / 206 | 13 / 18 |
| Blue / White | 4 | 296 / 281 | 17 / 18 |
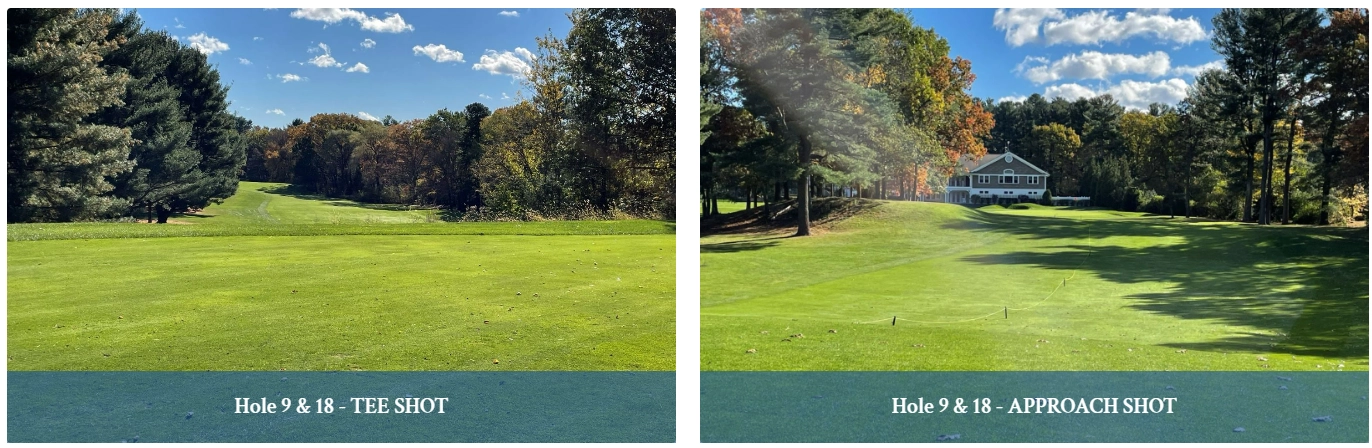
Hole 9 & 18 - Scorecard
| Tee | Par | Yardage | Handicap |
|---|---|---|---|
| Blue / Gold | 5 | 525 / 547 | 4 / 5 |
| Blue / White | 5 | 525 / 514 | 3 / 4 |
| White / Green | 5 | 514 / 502 | 3 / 4 |
| Red / Yellow | 5 | 502 / 400 | 1 / 6 |
| Blue / White | 5 | 525 / 514 | 1 / 4 |